 Teach your child about the science of snow and get some fresh air, with these winter activities.
Snowflakes and kids are made for each other. You can use your children’s natural curiosity about snow as a gateway into scientific exploration. Here’s a primer.
Where Does Snow Come From?
As a child, my grandmother used to tell me that snowflakes were pieces of clouds shaken loose when the angels danced with God. Her explanation was at least partly correct. Snow crystals are born in the clouds when water vapor freezes on a particle of dust, a floating bit of bacteria, or another solid material.
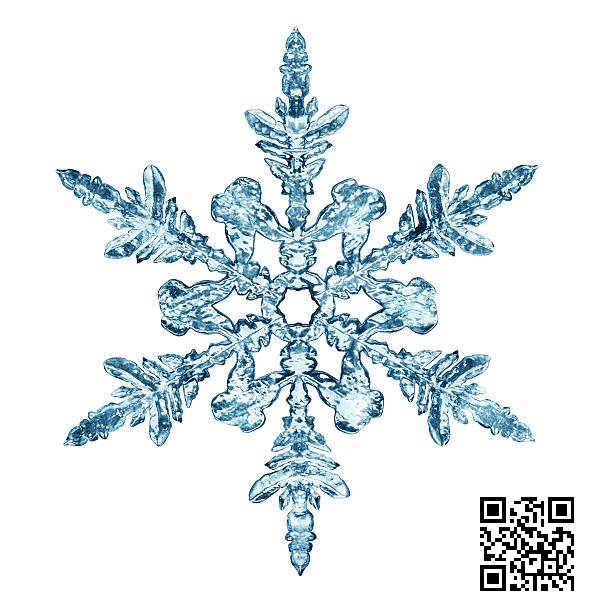
When cloud temperatures are at the freezing point or below, and there is an ample supply of moisture in the air, ice crystals form around a core particle. As water vapor condenses and freezes, the complex pattern of a snowflake is born, one molecule at a time. A snowflake’s hexagonal shape is born at the atomic level. It is here that water molecules bond together into stable crystal structures.
Snow can be further classified into six basic patterns called: Needles, columns, plates, columns capped with plates, dendrites, and stars. Each type is the result of different atmospheric and temperature conditions within the cloud. Click here to read more about each type.
Viewing Snow Flakes
What you’ll need:
Viewing platform: black velvet, dark cloth, or black construction paper
Magnifying glass
Snowflakes are delicate creatures and their fine crystalline shape can vanish at the touch of warmth. You’ll need to freeze your viewing surface (keep it in the fridge or outside in a cold dry area). If the snow is falling, just hold your platform aloft to catch a few flakes and view with your magnifying glass. You may need to wear a scarf over the mouth and nose to avoid melting the flakes with a warm breath.
 Photographing The Flake
You’ll need a camera with a “macro” lens and a tripod. Set the camera in a shady spot (sunlight can be deadly to a newborn snowflake “sleeping” on a dark heat-absorbing surface). Set the focus and experiment with exposures. Chances are, unless you are using a fast film, you’ll find your exposure time to be between 1/15 to 1/30th of a second. Perhaps longer.
Keeping A “Snow Journal”
The act of keeping a simple journal is a great way to introduce your child (of any age) to the basic scientific tool of observation. A younger child may simply draw pictures of the kind of snowflakes observed under a magnifying glass, while older kids can embark upon more detailed record keeping.
Parent’s tip: A journal is an excellent way to get a head-start on next year’s science project. Teachers are always impressed when a child produces a project based upon detailed records and personal observations.
Types Of Observations To Record In Your Journal:
- Date, time, and amount of snow fall;
- Temperature of air and snow pack;
- Kinds of snow crystals observed (needles, columns, plates, columns capped with plates, dendrites and stars);
- Weight of unit of snow. Using a small container such as a + cup measuring scoop, gather enough snow to fill container (DO NOT COMPACT SNOW). Use a straight edge (like a ruler or butter knife) to level snow to top of container and weigh it on a postage scale. The idea is to keep the unit volume of snow being measured consistent each time. You’ll find that the higher the weight, the higher the water content.
Questions to ask:
- Is there a relationship between the type of crystals observed and the weight (water content) of the snow?
- How does the air temperature affect crystal formation?
- What happens to snow flakes on the ground over night and after several days? Do they change shape?
Did you know?
The most snow in one season occurred during 1998-1999 when 1,140 inches of snow fell on Mount Baker, Wash. That’s a whopping 95 feet of snow! Try shoveling that out of your driveway!
Did you know that if you subscribe to our website, you will receive email notifications whenever content changes or new content is added.
1. Enter your e-mail address below and click the Sign Me Up button.
2. You will receive an email asking you to confirm your intention of subscribing to our site.
3. Click the link in the email to confirm. That’s all there is to it! Note: if you wish to unsubscribe from our site, click the unsubscribe link at the bottom of the email you received.
Then indicate you no longer wish to receive our emails.
Thank You
Dialect Zone International